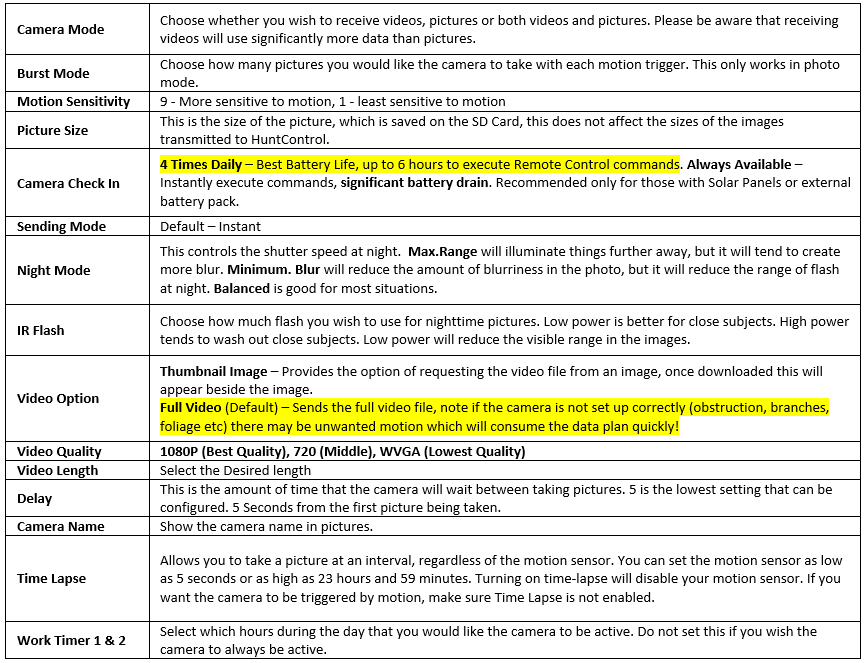
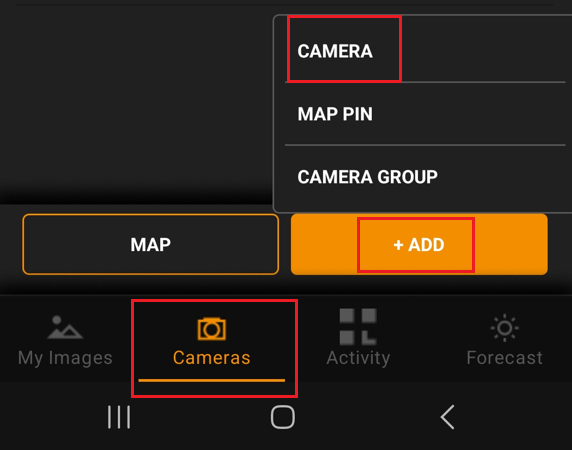
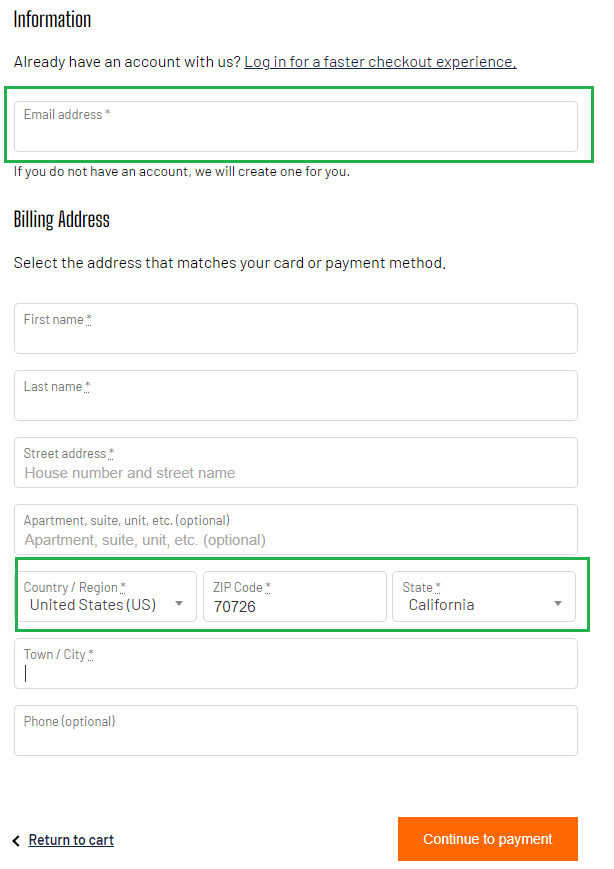
- Power on the Camera and Verify Signal Strength at the intended deployment location, do this before mounting the camera!
- Switch the Camera to Setup, once the Signal is established Press OK Button to Take a Test Pic
- Validate the Test Pic has been received in the HuntControl App
- How to aim the camera? Watch this from the WiseEye team on how the camera PIR sensors work - https://fb.watch/ow2zbjPJWB/
- Power Off the Camera and find a solid surface to mount the camera (that does not move, or moves little in the wind) such as a tree. If possible place the camera 5ft up at a 10º downwards angle.
- Place the camera within 50ft of the target area.
- Ensure there are no obstructions Infront of the camera such as leaves, branches etc and give consideration if the wind is active could foliage have an impact on motion?
- Switch the Camera back into Setup, Once the Signal is established Press the OK Button to Take a Test Pic and confirm in the HuntControl App again.
- If mounting is now complete, Turn the Power Switch to the ‘ON” position. (Don't worry if you forget it will automatically switch on)
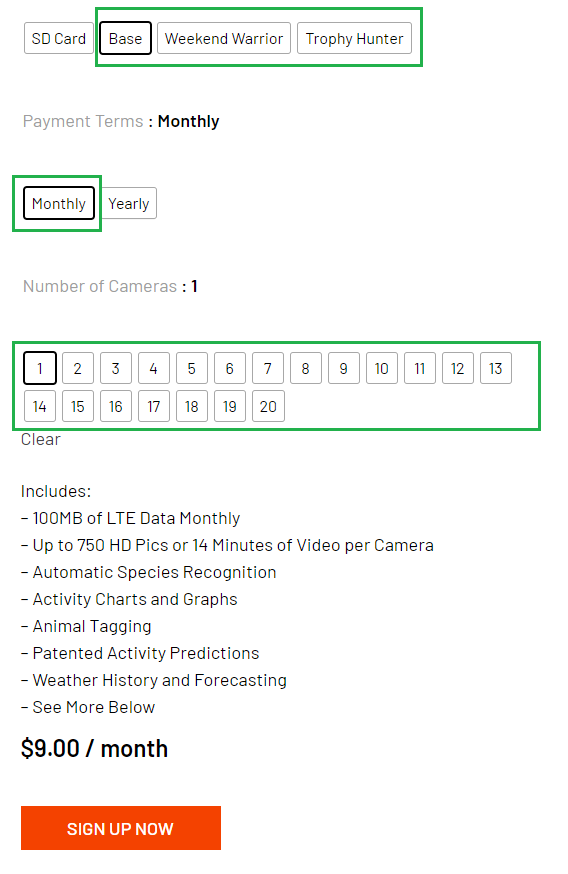
The following table breaks down the data-plans (monthly) costs for WiseEye DataCams in New Zealand, note this is an approximate conversion based on the US dollar. For more information visit here:
WiseEye cameras have a pre-configured SIM card that connects automatically to One NZ, 2Degrees, or Spark using multicarrier support. The camera will connect to the strongest signal in the area.
